Difference between revisions of "Department of Physical Sciences, Meru University of Science and Technology (MUST)"
Dmaitethia (talk | contribs) |
Dmaitethia (talk | contribs) |
||
| Line 131: | Line 131: | ||
'''CIT 3102 – FUNDAMENTALS OF COMPUTER PROGRAMMING''' | '''CIT 3102 – FUNDAMENTALS OF COMPUTER PROGRAMMING''' | ||
| − | '''[[File:IMG 20150702 092618.jpg|thumb|center]]''' | + | '''[[File:IMG 20150702 092618.jpg|thumb|center|IMG 20150702 092618.jpg]]''' |
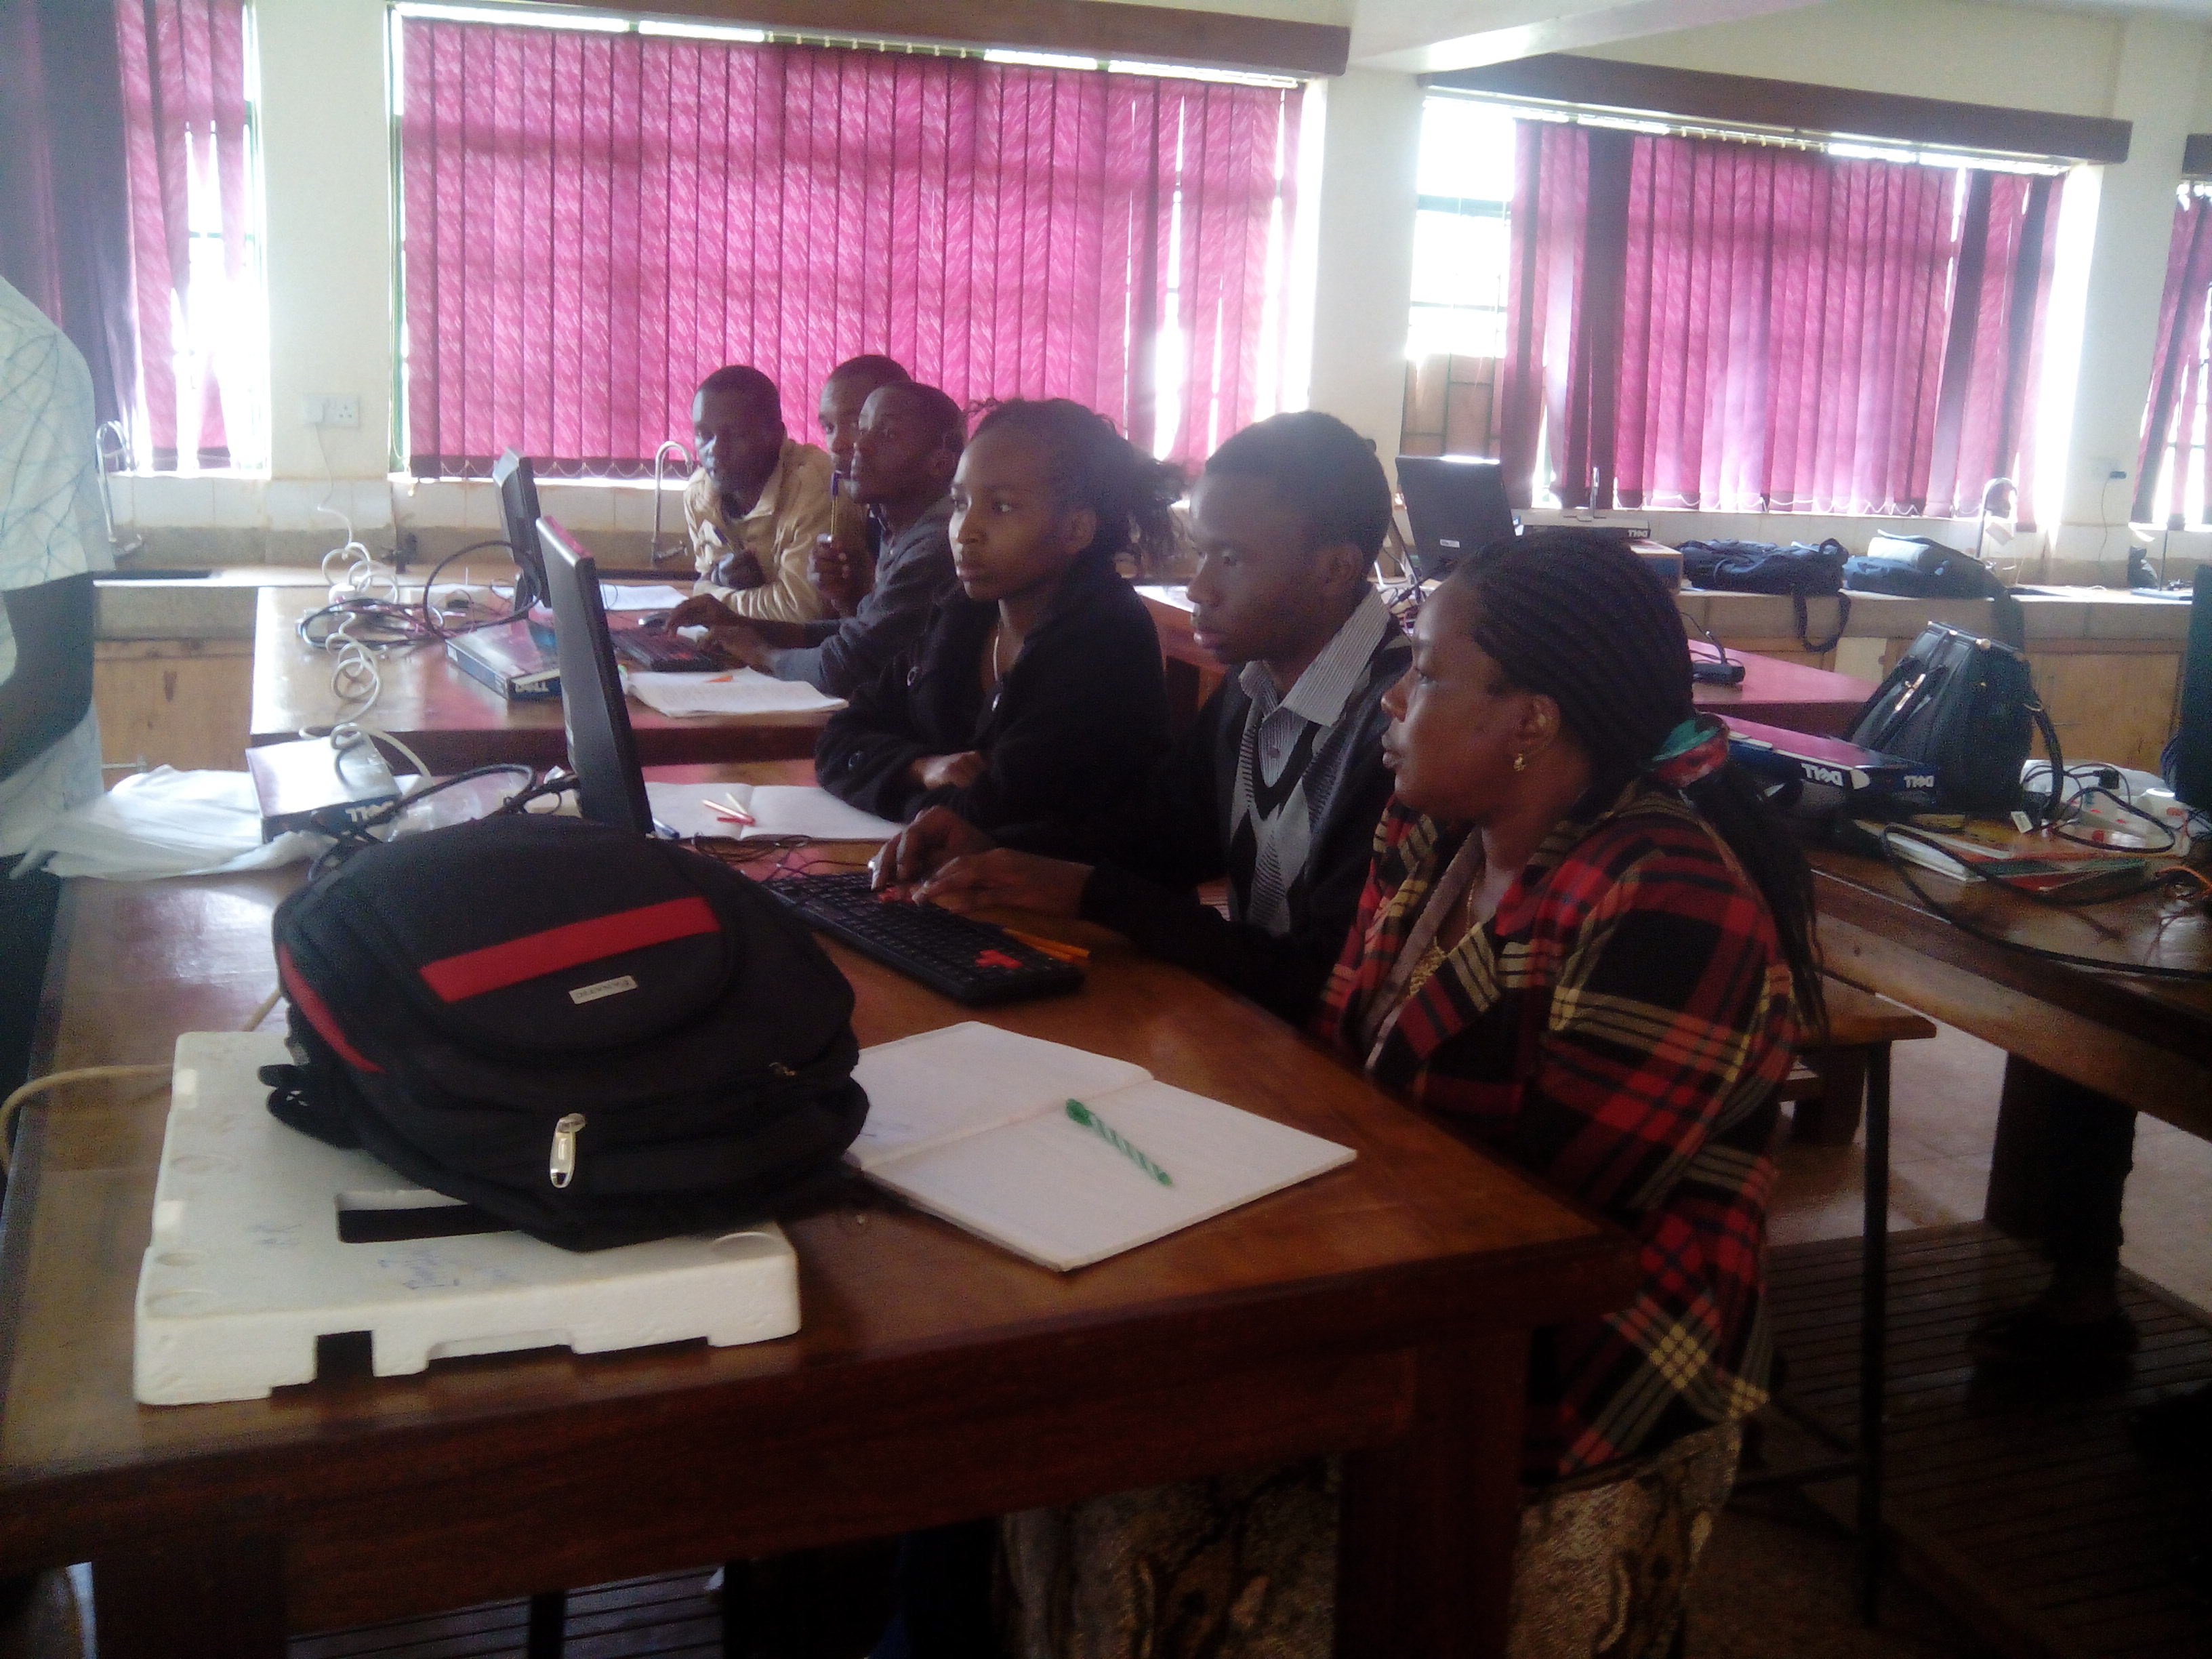
The raspberry pi has been used in Meru university as a teaching aid to teach among other units, Fundamentals of computer programming. | The raspberry pi has been used in Meru university as a teaching aid to teach among other units, Fundamentals of computer programming. | ||
| Line 140: | Line 140: | ||
[[File:Geany.png|thumb|center|600px|Geany.png]] | [[File:Geany.png|thumb|center|600px|Geany.png]] | ||
| + | |||
| + | Introduction Raspberry Pi and GPIO programming | ||
| + | |||
| + | Professor Simon Cox and his team at the University of <br/>Southampton connected 64 Raspberry Pi boards to build <br/>an experimental supercomputer, held together with Lego <br/>bricks. | ||
| + | |||
| + | The project was able to cut the cost of a supercomputer <br/>from millions of dollars to thousands or even hundreds. | ||
| + | |||
| + | Introduction<br/>System on a Chip | ||
| + | |||
| + | What does System on a Chip (SoC)mean? | ||
| + | |||
| + | A system on a chip (SoC) combines the required <br/>electronic circuits of various computer components onto <br/>a single, integrated chip (IC). | ||
| + | |||
| + | A SoC is a complete electronic substrate system that may <br/>contain analog, digital, mixed-signal or radio frequency <br/>functions. | ||
| + | |||
| + | <br/>System on a Chip | ||
| + | |||
| + | Its components usually include a graphical processing <br/>unit (GPU), a central processing unit (CPU) that may be <br/>multi-core, and system memory (RAM). | ||
| + | |||
| + | Because a SoC includes both the hardware and software, <br/>it uses less power, has better performance, requires less <br/>space and is more reliable than multi-chip systems. Most <br/>system-on-chips today come inside mobile devices like <br/>smartphones and tablets. | ||
| + | |||
| + | <br/>System on a Chip | ||
| + | |||
| + | A distinction between a microprocessor and a <br/>microcontroller should also be explained. | ||
| + | |||
| + | A microprocessor is an integrated circuit (IC) which has <br/>only the central processing unit (CPU) on it. Such as the <br/>Intel i7 CPU. | ||
| + | |||
| + | Microcontrollers have a CPU, memory, and other <br/>peripherals embedded on them. | ||
| + | |||
| + | <br/>System on a Chip | ||
| + | |||
| + | A microcontroller can be programmed to perform certain <br/>functions.<br/>A very popular microcontroller is the Arduino Uno.<br/>The difference between a SoC and a microcontroller <br/>often times is defined by the amount of random access <br/>memory (RAM).<br/>A SoC is capable of running its own operating system.<br/><br/>System on a Chip | ||
| + | |||
| + | The SoC we will use today is the Raspberry Pi B+. | ||
| + | |||
| + | The heart of this credit card sized computer is the <br/>Broadcom BCM2835 chipset that contains an ARM CPU <br/>and a Videocore4 graphics processing unit. | ||
| + | |||
| + | The B+ has a 700 MhzCPU and 512 MB of RAM.<br/>Pi Assembly and Raspbian Install | ||
| + | |||
| + | We will now discuss how to assemble the components that <br/>make up the Raspberry Pi.<br/>You will need the following (should be on the bench):<br/>•Raspberry Pi B+ board<br/>•HDMI to DVI cable<br/>•Monitor or TV<br/>•Micro SD card<br/>•USB keyboard and mouse<br/>•Micro USB power supply | ||
| + | |||
| + | |||
| + | |||
| + | Overlay-ContentSlides.png<br/>powerpoint-collegebgnd.jpg<br/>logo.png<br/>Pi Assembly and Raspbian Install | ||
| + | |||
| + | We will now bake (assemble) the Pi! | ||
| + | |||
| + | Once you have it put together, power it on. | ||
| + | |||
| + | You should see the New Out Of Box Software (NOOBS) <br/>operating system installer. | ||
| + | |||
| + | <br/>Pi Assembly and Raspbian Install | ||
| + | |||
| + | https://dlnmh9ip6v2uc.cloudfront.net/assets/4/8/7/3/b/52ab44ac757b7fa05c8b456b.png | ||
| + | |||
| + | Overlay-ContentSlides.png<br/>powerpoint-collegebgnd.jpg<br/>logo.png<br/>Pi Assembly and Raspbian Install | ||
| + | |||
| + | Select the Raspbian [RECOMMENDED] option, change the <br/>language to English (US), change the keyboard to US, and <br/>click install. | ||
| + | |||
| + | While the OS is installing we will discuss some electronics <br/>information. | ||
| + | |||
| + | <br/>Voltage, Current, and Resistance | ||
| + | |||
| + | When a potential difference exists between two charged <br/>bodies that are connected by a conductor, electrons flow <br/>in the conductor. This flow is from the negatively charged <br/>body to the positively charged body. | ||
| + | |||
| + | The voltage does not flow, only the charge. Voltage <br/>supplies the “push” or “pressure”. | ||
| + | |||
| + | <br/>Plumbing Analogy | ||
| + | |||
| + | It is difficult to keep straight the concepts of <br/>voltage, current, charge, resistance, etc., but for <br/>electrical circuits there is a helpful analogy with <br/>plumbing systems. Wires are, of course, like pipes; <br/>current is like the rate of water flow (gallons per <br/>minute); and resistance is like friction in the <br/>pipes. Now, here is the most helpful part of the <br/>analogy: voltage is like water pressure, and <br/>batteries and generators are like pumps. Like all <br/>analogies, however, it doesn't quite work. | ||
| + | |||
| + | Voltage, Current, and Resistance | ||
| + | |||
| + | <br/>Voltage can also be looked at as water pressure.<br/>We are mainly concerned with the potential <br/>difference between two points. | ||
| + | |||
| + | Ground is the reference point and is considered to <br/>have zero potential.<br/>Electric current –directed flow of free electrons. | ||
| + | |||
| + | Moves from a region of negative potential to a <br/>region of positive potential. | ||
| + | |||
| + | Therefore it can be stated that electric current <br/>flows from negative to positive. | ||
| + | |||
| + | Voltage, Current, and Resistance | ||
| + | |||
| + | <br/>Breadboarding Basics | ||
| + | |||
| + | What is a Breadboard?<br/>What circuit are we going to breadboard today?<br/>Are these wires connected?<br/>Which is Correct???<br/>Longer <br/>Lead of <br/>LED goes <br/>on top<br/>Connect Circuit to Pi | ||
| + | |||
| + | Now that you have a working resistor and LED circuit, we <br/>can now connect it to the Raspberry Pi. | ||
| + | |||
| + | Located on the Pi is a 40 pin general purpose input output <br/>(GPIO) connector.<br/>Connect Circuit to Pi | ||
| + | |||
| + | The 40 pins can be connected to various inputs or <br/>outputs.<br/>In our experiment we will connect our LED circuit to two <br/>of the outputs.<br/>Connect Circuit to Pi | ||
| + | |||
| + | http://data.designspark.info/uploads/images/53bc258dc6c0425cb44870b50ab30621<br/>Connect Circuit to Pi | ||
| + | |||
| + | To connect the GPIO header to the breadboard we will <br/>use a 40 pin cable. | ||
| + | |||
| + | The red stripe on the cable indicates pin number 1, which <br/>is in the upper left corner of the GPIO header.<br/>Connect Circuit to Pi | ||
| + | |||
| + | We will connect the ribbon cable as follows: | ||
| + | |||
| + | Pin 6 will be used for ground (common to both LEDs) | ||
| + | |||
| + | Pin 11 will be used for our output to the Blue LED | ||
| + | |||
| + | Pin 12 will be used for our output to the Red LED | ||
| + | |||
| + | Connect a black or brown wire to pin 6, and a red or <br/>orange wire to pin 11 and pin 12 on the ribbon cable. | ||
| + | |||
| + | Plug the black wire to the negative side of the circuit and <br/>the red wire to the positive side.<br/>Connect Circuit to Pi | ||
| + | |||
| + | Your project should look like this:<br/>Program the Pi | ||
| + | |||
| + | Now that the Pi is setup and the electronics are <br/>connected, we will now begin programming the GPIO <br/>output using a programming language known as Python. | ||
| + | |||
| + | Python is an interpreted, object-oriented, high-level <br/>programing language. | ||
| + | |||
| + | Python’s simple, easy to learn syntax emphasizes <br/>readability, which makes it easy to maintain and update. | ||
| + | |||
| + | <br/>Overlay-ContentSlides.png<br/>powerpoint-collegebgnd.jpg<br/>logo.png<br/>Program the Pi<br/>Python is included in the Raspbian distribution. | ||
| + | |||
| + | We will run a simple python program to verify that our Pi <br/>is ready to go. | ||
| + | |||
| + | Logon to the Pi with the username of piand the password <br/>of raspberry<br/>Program the Pi | ||
| + | |||
| + | You should now see the shell prompt like: | ||
| + | |||
| + | <br/>Type sudopythonand you should see the following: | ||
| + | |||
| + | Type quit() to exit from the python interpreter. | ||
| + | |||
| + | This shows us that Python is installed and ready for <br/>action.<br/>Program the Pi | ||
| + | |||
| + | We will now write our first Python program. | ||
| + | |||
| + | Type sudonanohelloworld.pyand press Enter. | ||
| + | |||
| + | Nanois a text editor that can be used to type our code. | ||
| + | |||
| + | Type print “Hello World!”;<br/>Program the Pi | ||
| + | |||
| + | Once you have the code written, press CTRLand xat the <br/>same time and press y to save the file. | ||
| + | |||
| + | Now type sudopython helloworld.pyYou should see: | ||
| + | |||
| + | <br/>Program the Pi | ||
| + | |||
| + | We will now write some code to control the LED circuit. | ||
| + | |||
| + | Type sudonanoled.pyand press Enter.<br/>Program the Pi | ||
| + | |||
| + | import RPi.GPIOas GPIO | ||
| + | |||
| + | import time | ||
| + | |||
| + | GPIO.setmode(GPIO.BOARD) | ||
| + | |||
| + | GPIO.setup(11,GPIO.OUT) | ||
| + | |||
| + | GPIO.output(11,GPIO.HIGH) | ||
| + | |||
| + | time.sleep(1) | ||
| + | |||
| + | GPIO.output(11,GPIO.LOW) | ||
| + | |||
| + | GPIO.cleanup() | ||
| + | |||
| + | Note, these are <br/>capital O’s, not <br/>0’s (zeroes). | ||
| + | |||
| + | Add code to <br/>light up pin 12. | ||
| + | |||
| + | <br/>Overlay-ContentSlides.png<br/>powerpoint-collegebgnd.jpg<br/>logo.png<br/>Program the Pi<br/>Once you have the code written, press CTRLand xat the <br/>same time and press y to save the file. | ||
| + | |||
| + | Now type sudo python led.pyYou should see your LEDs <br/>light up for 1 second and turn off. | ||
| + | |||
| + | Modify your code to make the LEDs blink 3 times.<br/>Program the Pi | ||
| + | |||
| + | import RPi.GPIOas GPIO | ||
| + | |||
| + | import time | ||
| + | |||
| + | GPIO.setmode(GPIO.BOARD) | ||
| + | |||
| + | GPIO.setup(11,GPIO.OUT) | ||
| + | |||
| + | for iin range (0,3): | ||
| + | |||
| + | GPIO.output(11, GPIO.HIGH) | ||
| + | |||
| + | time.sleep(1) | ||
| + | |||
| + | GPIO.output(11, GPIO.LOW) | ||
| + | |||
| + | time.sleep(1) | ||
| + | |||
| + | GPIO.cleanup() | ||
| + | |||
| + | {Be sure to <br/>use a tab <br/>instead of <br/>space here | ||
| + | |||
| + | Add code <br/>for pin 12! | ||
| + | |||
| + | <br/>Putting it all Together | ||
| + | |||
| + | You now have the skills to build a complete light show <br/>system! | ||
| + | |||
| + | Enjoy! | ||
Revision as of 10:01, 14 July 2015
Contents
- 1 About Meru University of Science and Technology
- 2 Meru University of Science and Technology Raspberry Pi Project
- 3 Executive Summary
- 4 Team Members
- 5 Methodology of Implementation and Assessment
- 6 Meru University RPI team first training
- 7 Launch of RPI to Computing students
- 8 RPI related projects in progress
- 9 Raspberry pi Tutor project
About Meru University of Science and Technology
Meru University of Science and Technology (MUST) is a young public university in Meru County of the Republic of Kenya having been chartered in March 2013 established under The Universities Act of 2012. Prior to the University status, MUST was a constituent college of Jomo Kenyatta University of Agriculture and Technology (JKUAT).
Meru University of Science and Technology Raspberry Pi Project
Meru University of Science and Technology has won a KENET Raspberry mini grant. This project is geared towards using a credit size gadget called Raspberry Pi (RPI) to teach computational units in the University. Raspberry Pi is a small device that was developed for teaching Computer Science in schools. Besides being portable, RPI is affordable and can be easily interfaced with the outside and used to perform automation projects.
As a pilot project, we will use RPI to teach three computational units on offer in the university during the April - August 2015 semester. We will also be conducting RPI related projects with an aim of publishing the results in referred journals. Students will be encouraged to develop their own projects using the pi and eventually showcase them within the University and other forums organized by RPI stake holders. Read more.
Executive Summary
The overall objective is to establish a Raspberry Pi teaching Laboratory in Meru University of Science and Technology (MUST). To achieve this a minimum of three computational units will be used to pilot the use of Raspberry Pi in teaching. Instructional manuals for teaching these units using Raspberry Pi will be developed and provided to the students. Student learning outcomes will be assessed throughout the semester. Publications regarding novel findings observed in the pilot stage will be presented in a refereed conference. Prior to the grant the university had already acquired a number of Raspberry Pi units and its accessories, developed exhibits of how Raspberry Pi can be used for teaching computer related courses in schools and showcased the projects in Commission for University Education exhibitions and ASK shows. Work is also in progress to develop a security surveillance system and an electronic device for early detection of crop diseases and other plant stress using Raspberry Pi. Upon successful completion of the pilot stage the university will upscale the use of Raspberry Pi in teaching more courses and launch a campaign for popularizing the adoption of Raspberry Pi in teaching computer related course in tertiary institutions of learning, secondary and primary schools within the environs of the university.
Team Members
- Mr. Daniel Maitethia Memeu - Department of Physical Sciences - Lead Researcher
- Mr. Ronoh Wycliffe – Department of Information Technology & Computer Science - Team member
- Mr. Abkul Orto - Department of Information Technology & Computer Science - Team member
- Mr. Kinuthia Mugi – Department of Engineering - Team member
Methodology of Implementation and Assessment
The University currently has four teaching computer laboratories fully connected to the internet. One of these computer labs will be used to establish a Raspberry pi based teaching laboratory. Facilities such as computer monitors, USB keyboards and mice, internet connectivity and computer desks will be shared by the existing PCs and the Raspberry Pi modules to be acquired. A suitable mode of embedding the Raspberry Pi modules in the system unit will be adopted.
Meru University RPI team first training
On 2nd march 2015 RPI project team underwent their first training on getting started with RPI. The course focused on the key components of the Pi, downloading and load the Raspbian (Raspberry Pi official OS) to the SD card, powering up the Pi, configuring the pi OS, launching basic Pi applications for word processing, spread sheet, presentation and internet browsing. Members were also introduced to Python programming using the Python IDE which comes with Raspbian.
Launch of RPI to Computing students
On 15th March 2015, the Meru University RPI team introduced RPI to computer science students. The students were explained the capabilities of the gadgets with demonstrations. In this meeting students resolved to organize themselves into groups to learn and develop more RPI applications.
RPI imaging module for crop stress monitoring
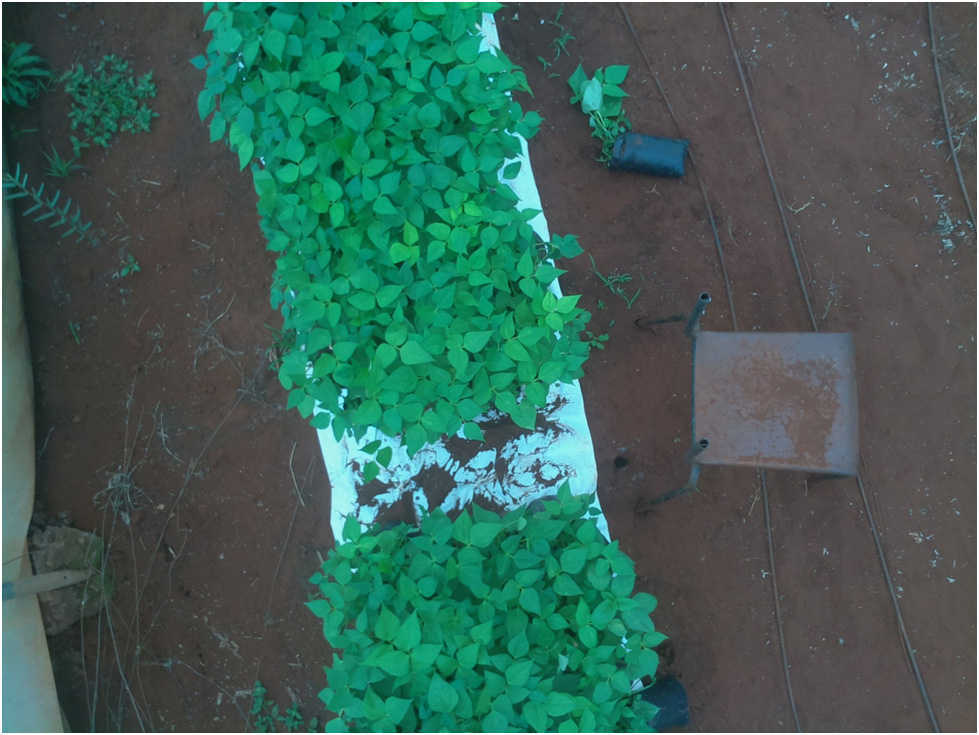
We are developing a system for detecting crop stress in green houses using Raspberry imaging module. The module comprises of the RPI connected to RPI camera. An executable Linux script for periodically taking photos is written and incorporated to the Linux task scheduler (cron) so that upon reboot the pi starts taking photos after a specified period. The system is powered by solar. So far the imaging module is complete and has been tested in the green house and has been found to be working fine. We are now working on suitable algorithms for processing the images captured for stress. We intend to use python and open CV imaging processing library to accomplish the task.
Raspberry pi Tutor project
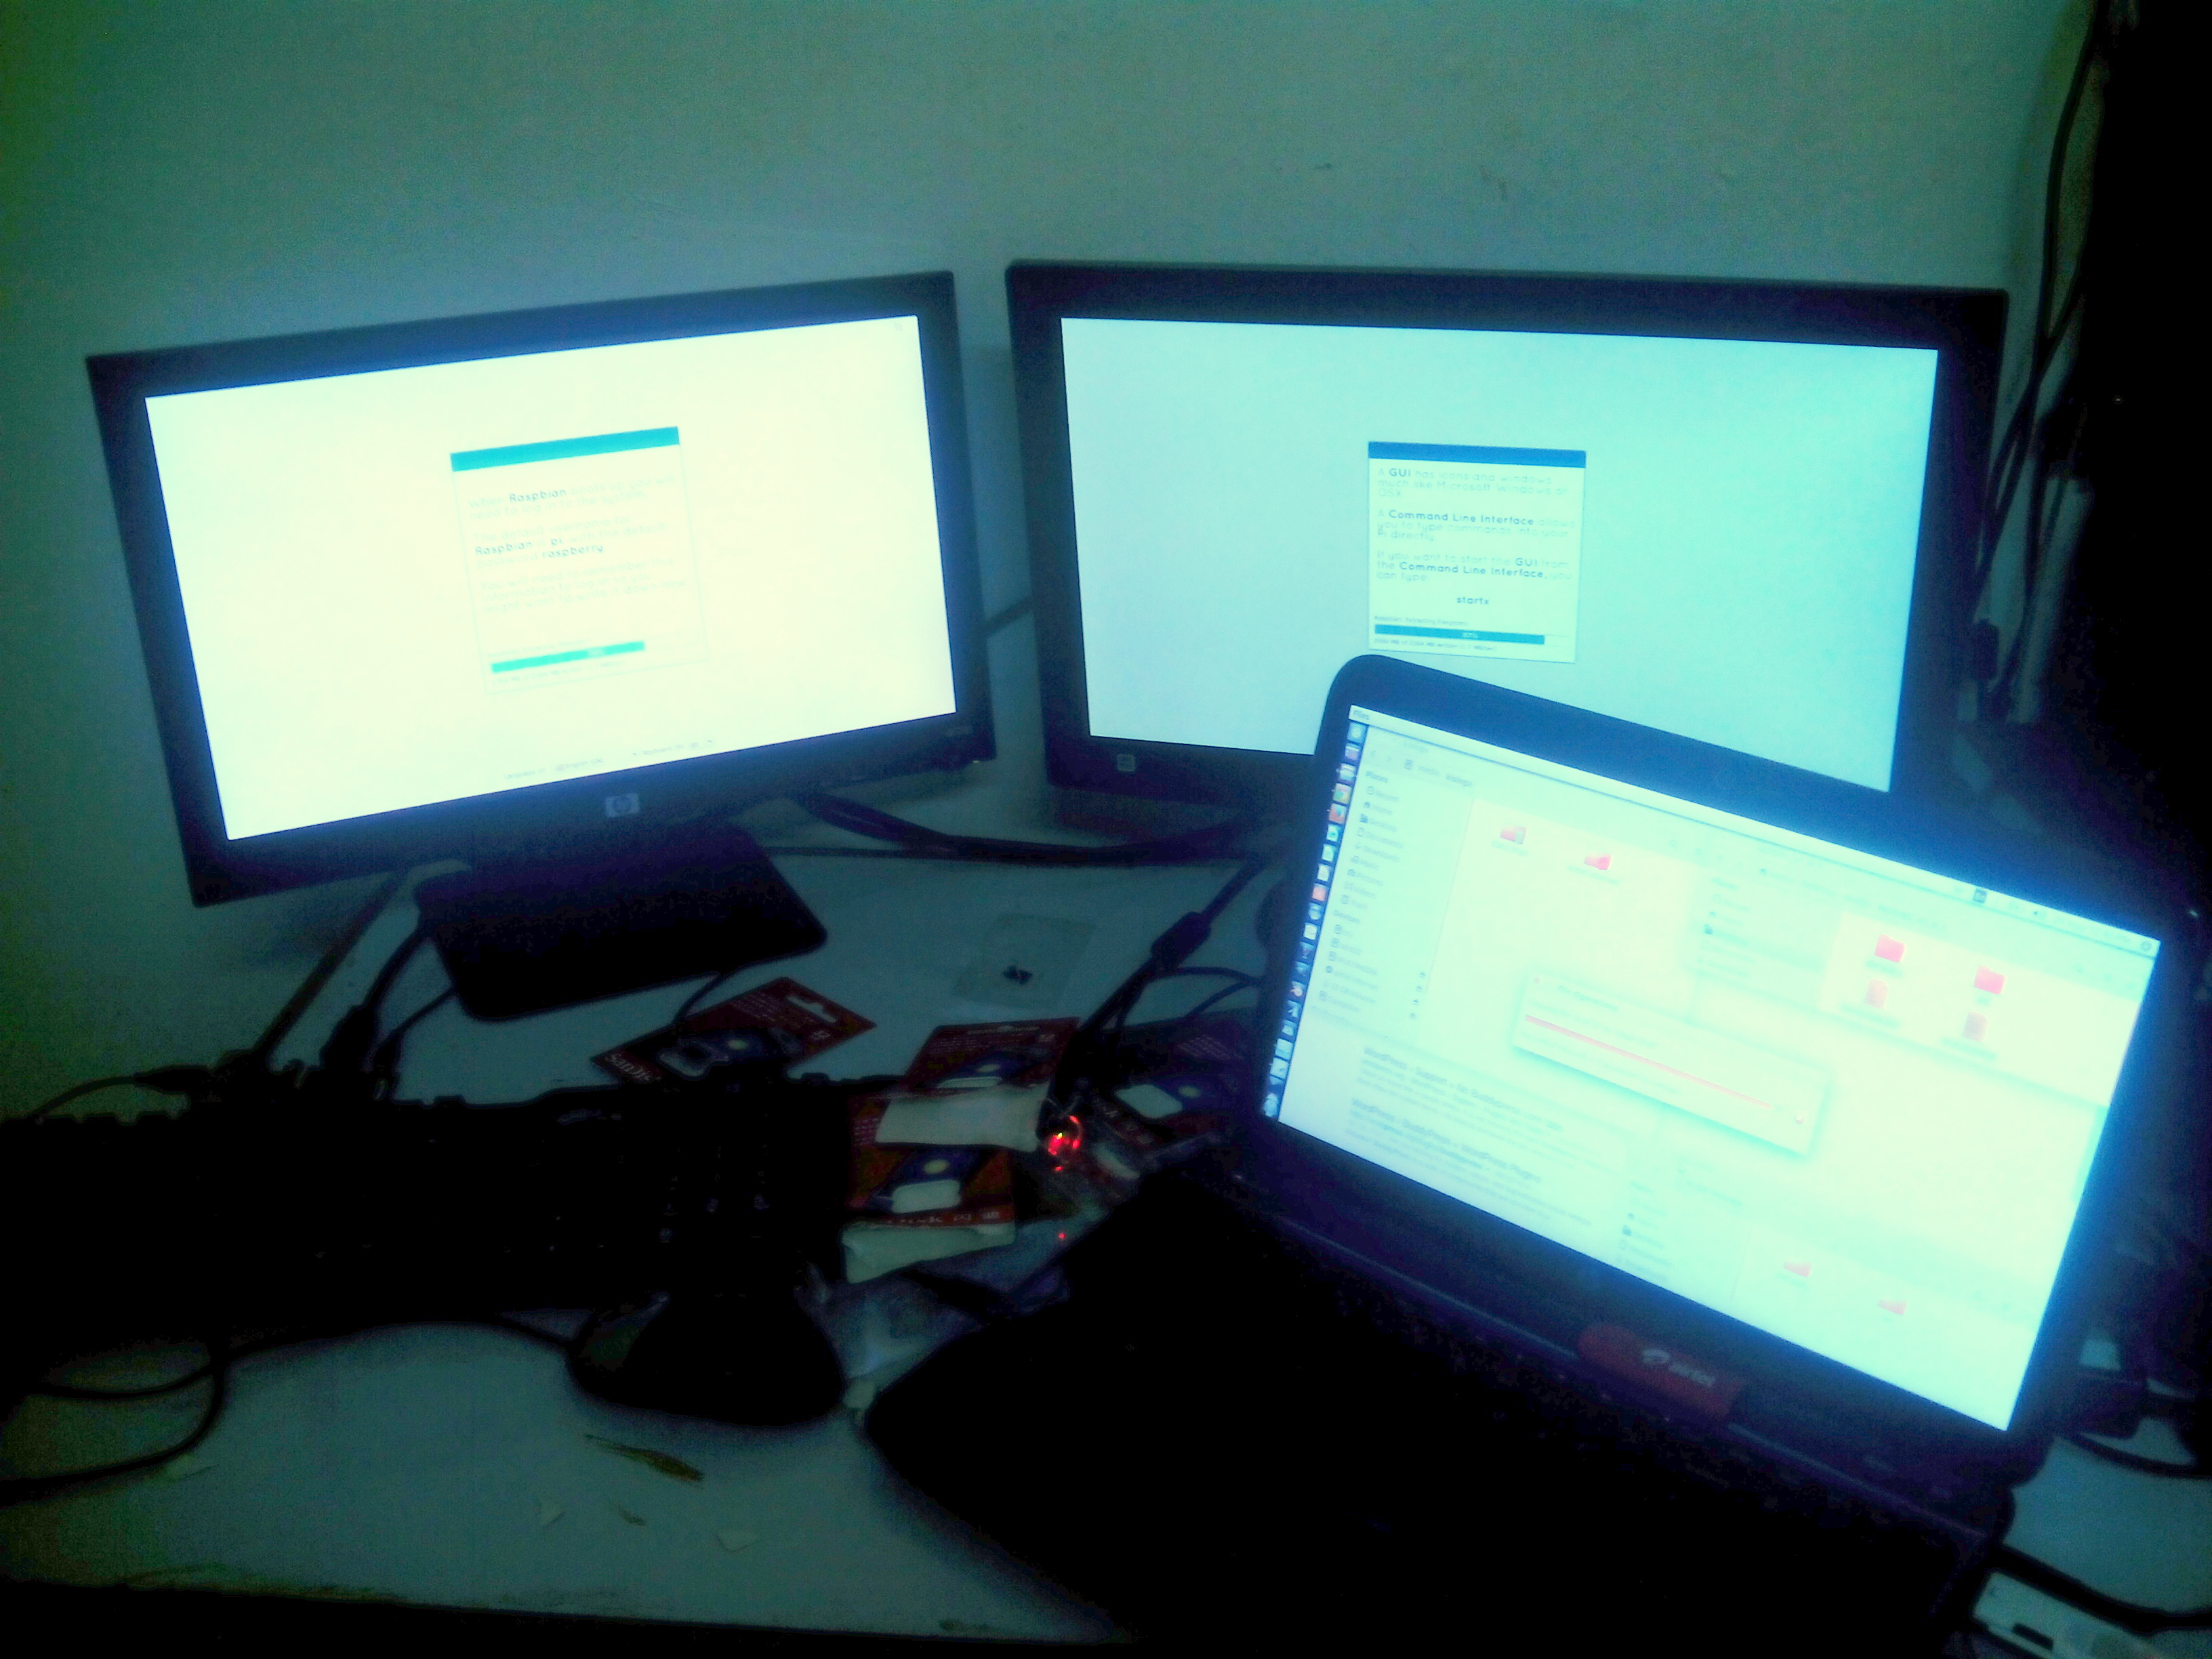
Meru university Raspberry pi team is working on making Raspberry pi an ideal gadget for learning. The team is specifically developing educational applications for running on the Pi geared at making learning interesting right from early childhood. So far applications incorporating elementary English, mathematics, and technology lessons have been developed. Images, videos, and sound are used as learning aids in these subjects.
The project has been showcased in various forums including the Commission of University exhibition held in Machakos in from 19th to 21st March, 2015, the NACOSTI exhibition week held in the University of Nairobi from 11th to 16th May 2015, and the Meru National ASK show held in Meru ASK show ground from 3rd to 6th June, 2015. members of the public were interested by the capabilities of the little device and agreed the Pi can make a great learning companion to the pupils and students as well as teachers.
The team main agenda as pertaining this project is to advocate for the adoption of the Raspberry pi (RPI) as an alternative to desktop/laptops/tablets computers in learning of IT related courses.
The presentation was categorized as an exhibition, and apart from showcasing our amazing gadget, the team was also able to interact and learn where to improve and the many possible challenges that the project is likely to encounter in the near future.
PROJECT DESCRIPTION (By developers: students from Meru University)
Target Audience: Class 1-4 students, Teachers
Application: Teaching Aid, Student management
Detailed Description:
“CHEESE” is an innovative program that is aimed at teaching young students different subjects in an immersive and well interactive manner.
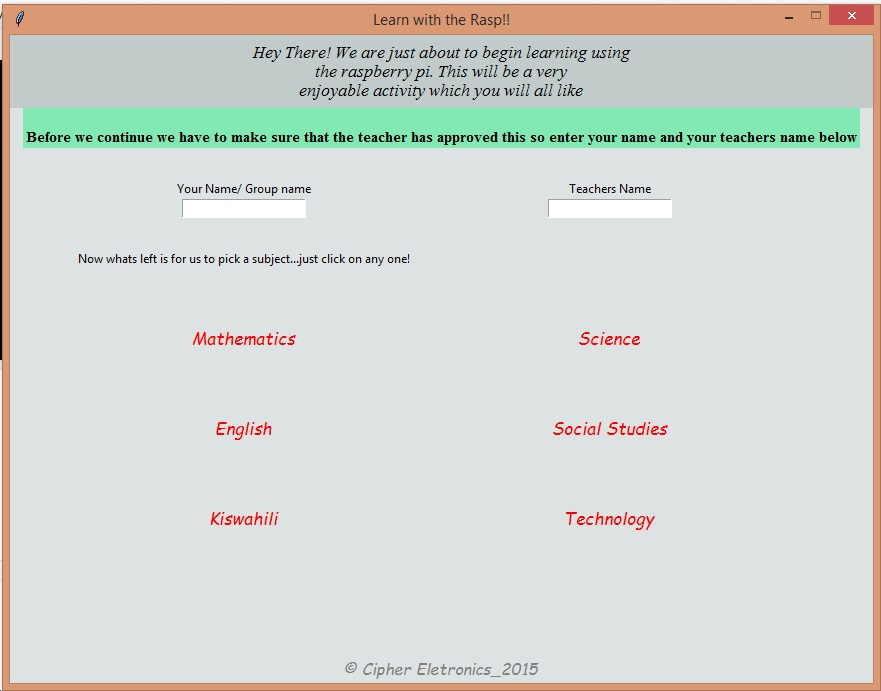
The Graphical user interface is developed in such a way to allow different students to log in so as to start the lesson
The student is required to type in their name and the teachers name after which a log is kept.
The teacher can then use the log to trace and make a follow up of which students were present for the class and also be able to access the student performance.
The program also allows working in groups by allowing login of different group members. This data is very useful to the teacher for progress assessment and grading.
From the login phase the student can choose from a range of different subject. Our personal favorite is Technology as a subsidiary of Science. In this subject the program present different logos and graphics and the students is supposed to recognize them and key in the correct answer. Points are awarded for correct answers.
But thats not all.
Teachers also have the ability to upload their own images that they feel may be appropriate and defining the correct answers thereby further extending the capability of the program.
This is because during the development of this program we not only have the students in mind but also the teachers who are supposed to be supervising the students.
There is a total of six subjects that students can select from:
| SUBJECT | DESCRIPTION |
|---|---|
| Mathematics |
The subject has simple arithmetic questions that the student is tasked with finding the answers to, awarding points for each correct answer answered |
|
English |
Aimed at the young children, this subject requires that the student identifies pictures and spells the correctly |
|
Kiswahili |
Graphics is core to the subject with students being tasked with translating and spelling different pictures. |
|
Christian Education |
Morals are an important lesson both to us and the society, which is why as part of our development in the project we designed simple stories some borrowed from famous tales to teach children different morals and life skills |
|
Social Studies |
<Under development> |
|
Music |
<Under development> |
|
Art and Craft |
<Under development> |
|
Technology |
In this subject the program present different logos and graphics and the students is supposed to recognize them and key in the correct answer. |
|
NB: For all of the above subjects, point are awarded for each correct answer |
Developed by Mr. Michael Kamau and Steve Kisinga, both students from Meru University, we believe that the application has huge potential as a teaching aid as well as a good student management program that is user friendly.
We also presented the same project at the Meru ASK show where we scooped various awards, among them being the best innovation stand. Major efforts are being carried at ensuring that the project succeeds, and a lot of dedication is being displayed by the team members
RASPBERRY AS A TEACHING AID
CIT 3102 – FUNDAMENTALS OF COMPUTER PROGRAMMING
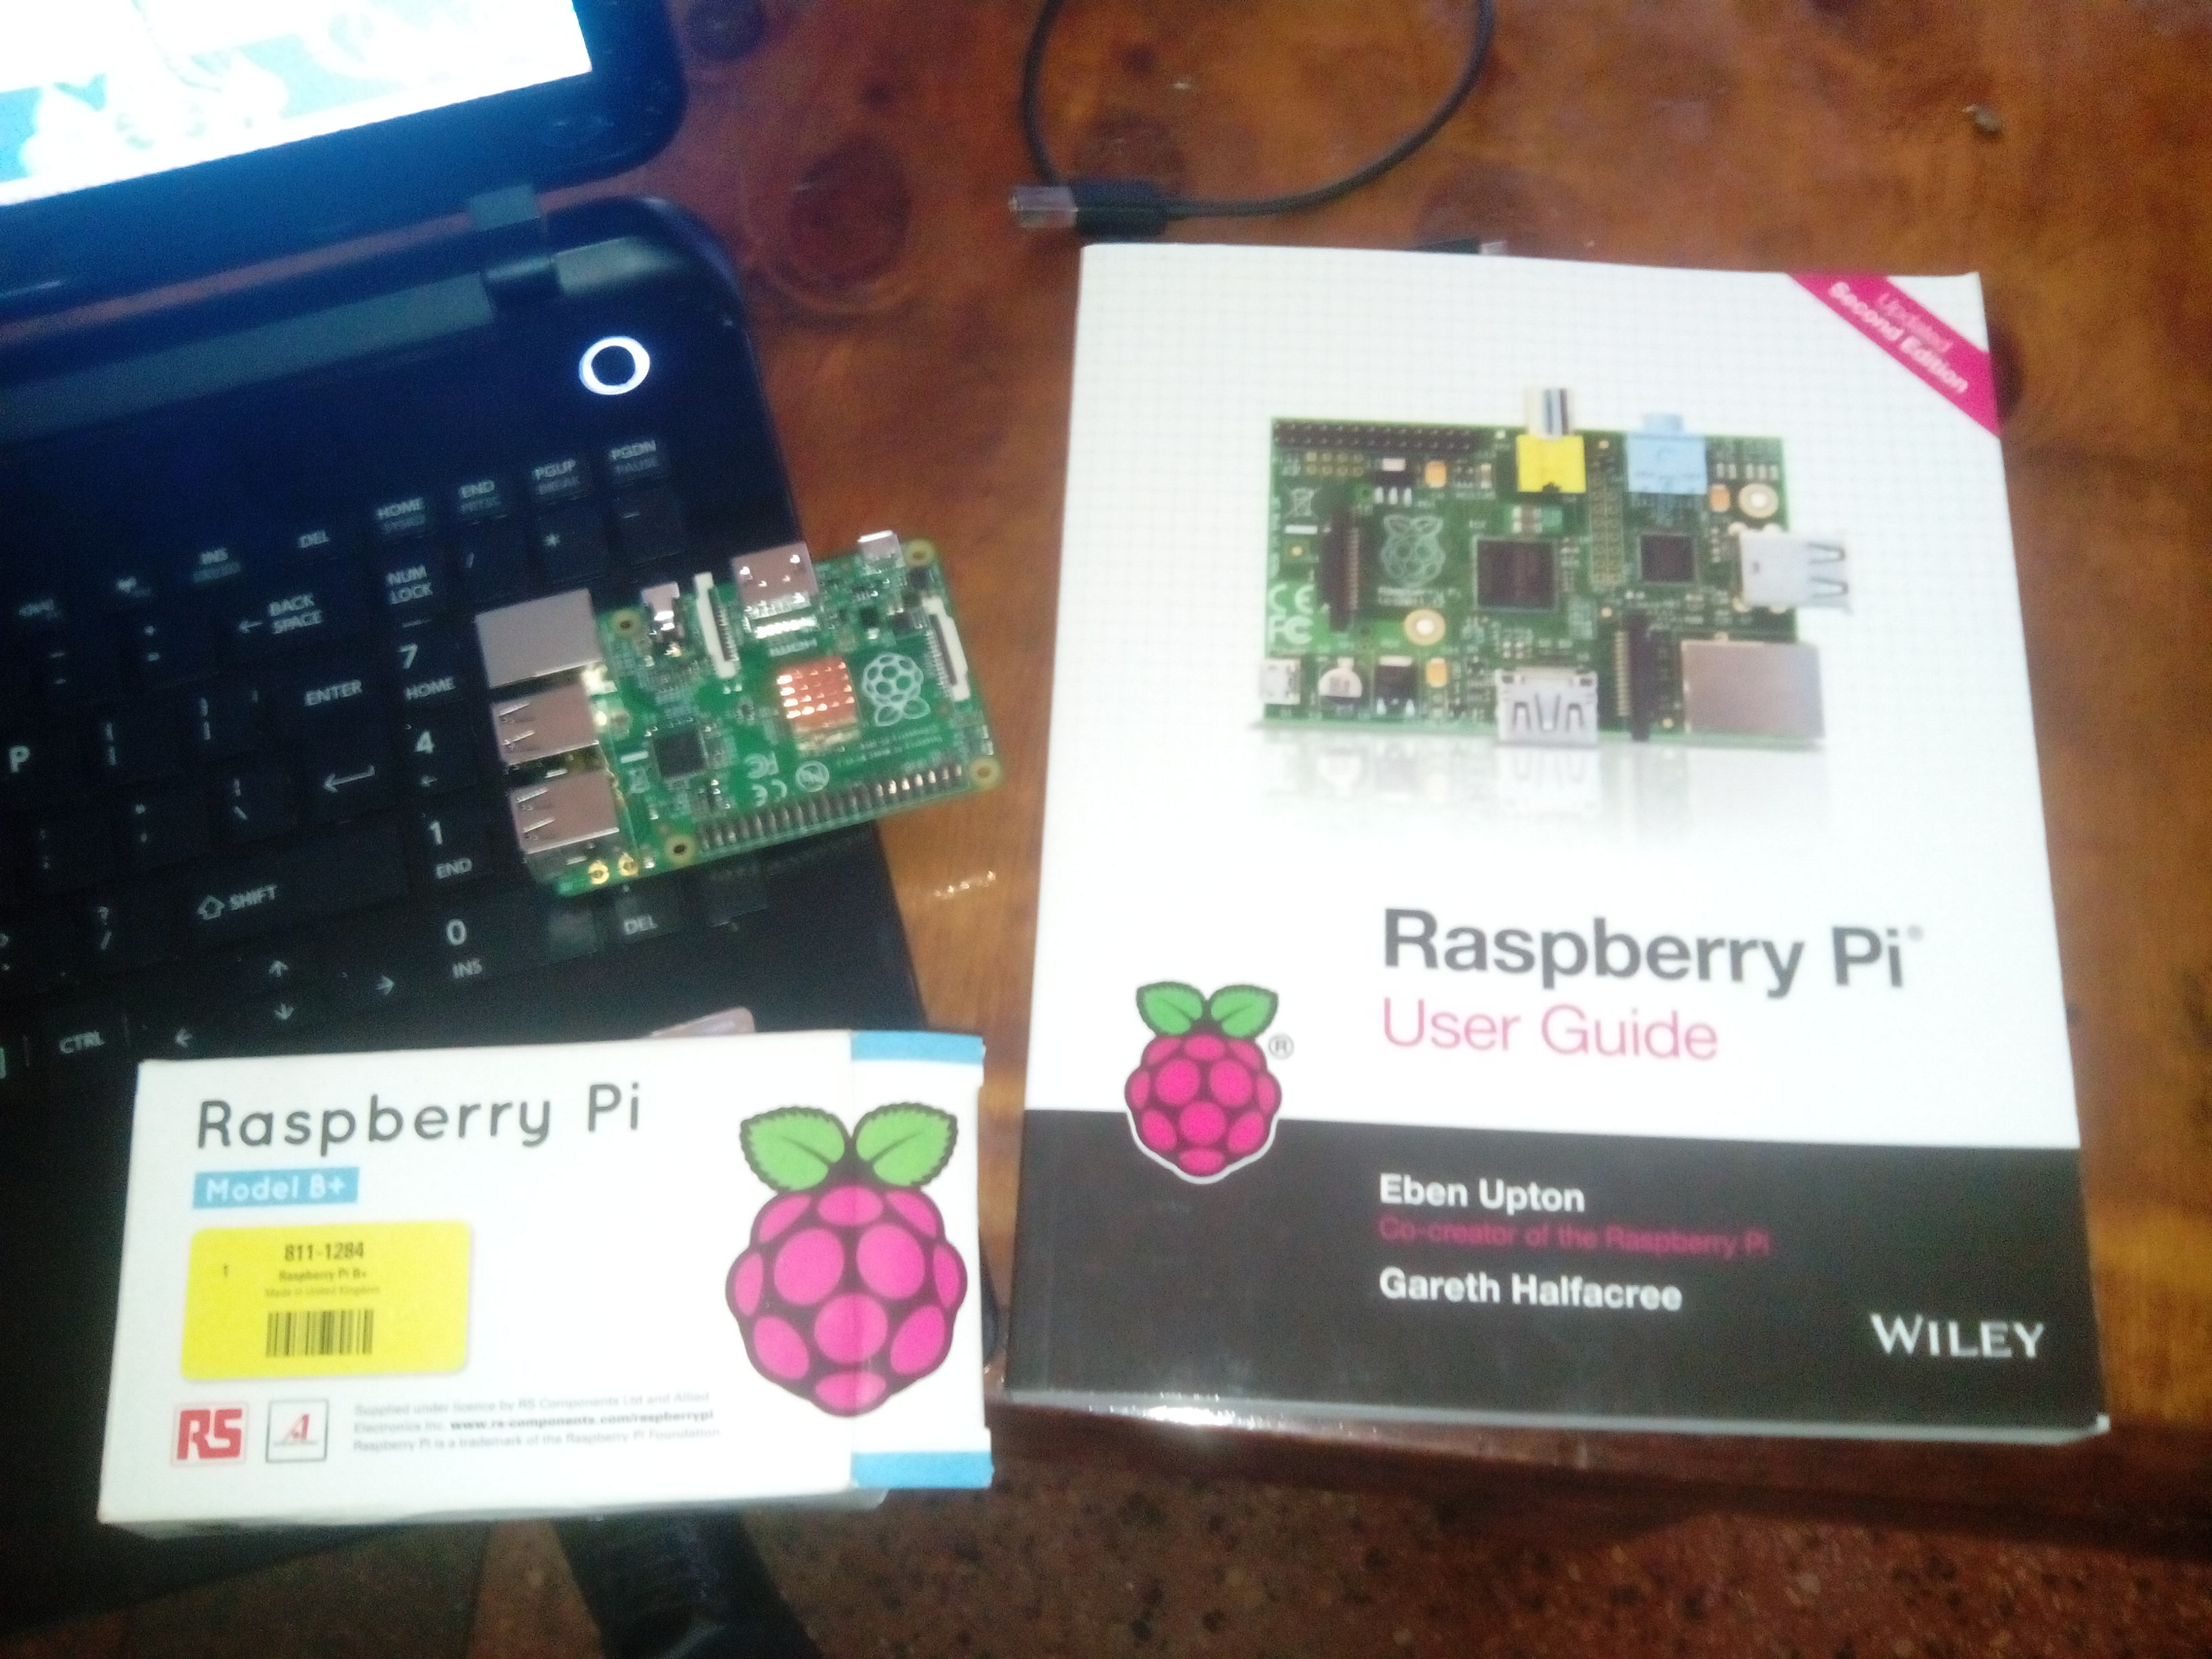
The raspberry pi has been used in Meru university as a teaching aid to teach among other units, Fundamentals of computer programming.
Students were introduced to the raspberry pi, what it is, it's capabilities and its advantages. As part of the lesson students were required to use the raspberry pi to access the internet and use various search engines to find out the technical specifications of the device.
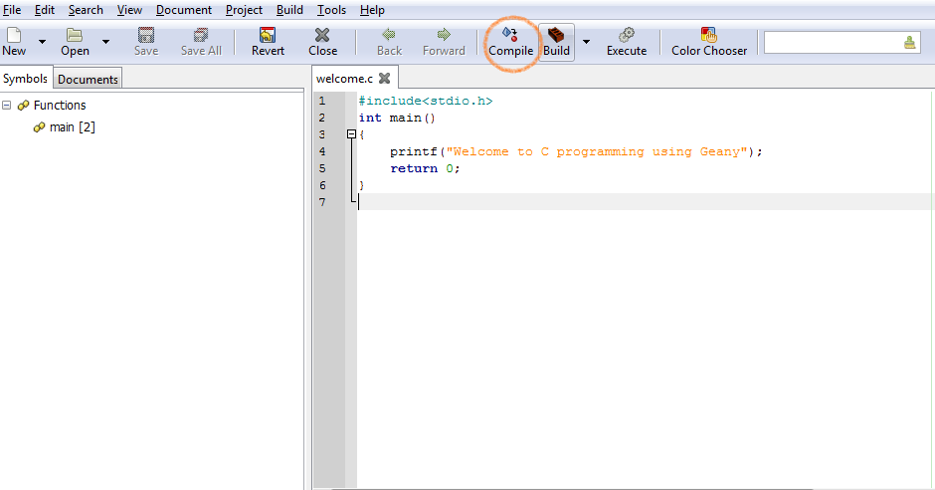
Students were intoduced to programming basic programming and taught basic proramming skills. Geany was used as the IDE of choice to teach C programming. Ranging from displaying simple text on the terminal to the more complex programming skills of assigning variables and accepting input, the raspberry pi has offered a great deal in helping teach the unit.
Introduction Raspberry Pi and GPIO programming
Professor Simon Cox and his team at the University of
Southampton connected 64 Raspberry Pi boards to build
an experimental supercomputer, held together with Lego
bricks.
The project was able to cut the cost of a supercomputer
from millions of dollars to thousands or even hundreds.
Introduction
System on a Chip
What does System on a Chip (SoC)mean?
A system on a chip (SoC) combines the required
electronic circuits of various computer components onto
a single, integrated chip (IC).
A SoC is a complete electronic substrate system that may
contain analog, digital, mixed-signal or radio frequency
functions.
System on a Chip
Its components usually include a graphical processing
unit (GPU), a central processing unit (CPU) that may be
multi-core, and system memory (RAM).
Because a SoC includes both the hardware and software,
it uses less power, has better performance, requires less
space and is more reliable than multi-chip systems. Most
system-on-chips today come inside mobile devices like
smartphones and tablets.
System on a Chip
A distinction between a microprocessor and a
microcontroller should also be explained.
A microprocessor is an integrated circuit (IC) which has
only the central processing unit (CPU) on it. Such as the
Intel i7 CPU.
Microcontrollers have a CPU, memory, and other
peripherals embedded on them.
System on a Chip
A microcontroller can be programmed to perform certain
functions.
A very popular microcontroller is the Arduino Uno.
The difference between a SoC and a microcontroller
often times is defined by the amount of random access
memory (RAM).
A SoC is capable of running its own operating system.
System on a Chip
The SoC we will use today is the Raspberry Pi B+.
The heart of this credit card sized computer is the
Broadcom BCM2835 chipset that contains an ARM CPU
and a Videocore4 graphics processing unit.
The B+ has a 700 MhzCPU and 512 MB of RAM.
Pi Assembly and Raspbian Install
We will now discuss how to assemble the components that
make up the Raspberry Pi.
You will need the following (should be on the bench):
•Raspberry Pi B+ board
•HDMI to DVI cable
•Monitor or TV
•Micro SD card
•USB keyboard and mouse
•Micro USB power supply
Overlay-ContentSlides.png
powerpoint-collegebgnd.jpg
logo.png
Pi Assembly and Raspbian Install
We will now bake (assemble) the Pi!
Once you have it put together, power it on.
You should see the New Out Of Box Software (NOOBS)
operating system installer.
Pi Assembly and Raspbian Install
https://dlnmh9ip6v2uc.cloudfront.net/assets/4/8/7/3/b/52ab44ac757b7fa05c8b456b.png
Overlay-ContentSlides.png
powerpoint-collegebgnd.jpg
logo.png
Pi Assembly and Raspbian Install
Select the Raspbian [RECOMMENDED] option, change the
language to English (US), change the keyboard to US, and
click install.
While the OS is installing we will discuss some electronics
information.
Voltage, Current, and Resistance
When a potential difference exists between two charged
bodies that are connected by a conductor, electrons flow
in the conductor. This flow is from the negatively charged
body to the positively charged body.
The voltage does not flow, only the charge. Voltage
supplies the “push” or “pressure”.
Plumbing Analogy
It is difficult to keep straight the concepts of
voltage, current, charge, resistance, etc., but for
electrical circuits there is a helpful analogy with
plumbing systems. Wires are, of course, like pipes;
current is like the rate of water flow (gallons per
minute); and resistance is like friction in the
pipes. Now, here is the most helpful part of the
analogy: voltage is like water pressure, and
batteries and generators are like pumps. Like all
analogies, however, it doesn't quite work.
Voltage, Current, and Resistance
Voltage can also be looked at as water pressure.
We are mainly concerned with the potential
difference between two points.
Ground is the reference point and is considered to
have zero potential.
Electric current –directed flow of free electrons.
Moves from a region of negative potential to a
region of positive potential.
Therefore it can be stated that electric current
flows from negative to positive.
Voltage, Current, and Resistance
Breadboarding Basics
What is a Breadboard?
What circuit are we going to breadboard today?
Are these wires connected?
Which is Correct???
Longer
Lead of
LED goes
on top
Connect Circuit to Pi
Now that you have a working resistor and LED circuit, we
can now connect it to the Raspberry Pi.
Located on the Pi is a 40 pin general purpose input output
(GPIO) connector.
Connect Circuit to Pi
The 40 pins can be connected to various inputs or
outputs.
In our experiment we will connect our LED circuit to two
of the outputs.
Connect Circuit to Pi
http://data.designspark.info/uploads/images/53bc258dc6c0425cb44870b50ab30621
Connect Circuit to Pi
To connect the GPIO header to the breadboard we will
use a 40 pin cable.
The red stripe on the cable indicates pin number 1, which
is in the upper left corner of the GPIO header.
Connect Circuit to Pi
We will connect the ribbon cable as follows:
Pin 6 will be used for ground (common to both LEDs)
Pin 11 will be used for our output to the Blue LED
Pin 12 will be used for our output to the Red LED
Connect a black or brown wire to pin 6, and a red or
orange wire to pin 11 and pin 12 on the ribbon cable.
Plug the black wire to the negative side of the circuit and
the red wire to the positive side.
Connect Circuit to Pi
Your project should look like this:
Program the Pi
Now that the Pi is setup and the electronics are
connected, we will now begin programming the GPIO
output using a programming language known as Python.
Python is an interpreted, object-oriented, high-level
programing language.
Python’s simple, easy to learn syntax emphasizes
readability, which makes it easy to maintain and update.
Overlay-ContentSlides.png
powerpoint-collegebgnd.jpg
logo.png
Program the Pi
Python is included in the Raspbian distribution.
We will run a simple python program to verify that our Pi
is ready to go.
Logon to the Pi with the username of piand the password
of raspberry
Program the Pi
You should now see the shell prompt like:
Type sudopythonand you should see the following:
Type quit() to exit from the python interpreter.
This shows us that Python is installed and ready for
action.
Program the Pi
We will now write our first Python program.
Type sudonanohelloworld.pyand press Enter.
Nanois a text editor that can be used to type our code.
Type print “Hello World!”;
Program the Pi
Once you have the code written, press CTRLand xat the
same time and press y to save the file.
Now type sudopython helloworld.pyYou should see:
Program the Pi
We will now write some code to control the LED circuit.
Type sudonanoled.pyand press Enter.
Program the Pi
import RPi.GPIOas GPIO
import time
GPIO.setmode(GPIO.BOARD)
GPIO.setup(11,GPIO.OUT)
GPIO.output(11,GPIO.HIGH)
time.sleep(1)
GPIO.output(11,GPIO.LOW)
GPIO.cleanup()
Note, these are
capital O’s, not
0’s (zeroes).
Add code to
light up pin 12.
Overlay-ContentSlides.png
powerpoint-collegebgnd.jpg
logo.png
Program the Pi
Once you have the code written, press CTRLand xat the
same time and press y to save the file.
Now type sudo python led.pyYou should see your LEDs
light up for 1 second and turn off.
Modify your code to make the LEDs blink 3 times.
Program the Pi
import RPi.GPIOas GPIO
import time
GPIO.setmode(GPIO.BOARD)
GPIO.setup(11,GPIO.OUT)
for iin range (0,3):
GPIO.output(11, GPIO.HIGH)
time.sleep(1)
GPIO.output(11, GPIO.LOW)
time.sleep(1)
GPIO.cleanup()
{Be sure to
use a tab
instead of
space here
Add code
for pin 12!
Putting it all Together
You now have the skills to build a complete light show
system!
Enjoy!
